What is a Setup for Screen Printing and Embroidery?
Setup refers to the conditions that go into initiating your project and preparing it for production. You can assume that all projects have a setup procedure but in this post we’re more referring to the term ‘setup’ as it pertains to the cost and detail you see on your project invoice.
Setting up applies to every project although we don’t always charge a ‘setup fee’. Take digital stickers for instance, yeah we may have to put a little work into your art and create the print/cut files. Maybe change the vinyl type out in the printer plotter but that’s usually a pretty simple process. This is why you likely won’t see a setup fee on your invoice when ordering services like direct to garment printing (DTG) and digitally printed stickers.
Setup costs cover the additional work that goes into getting your unique project prepared for production.
Now if you send you art in and it needs a significant amount of work to get it print or embroidery worthy we may ask that you compensate us for that time. Another example to frame this idea is let’s say you want us to create a custom sticker for a product. You’re probably going to want us to live sample it to make sure it meets the dimensions in real geometry. For something like this we may charge a setup fee to cover our time.
All projects require some form of setup but we’ll only charge a ‘setup’ fee when we deem it necessary.
Let’s think about the most common instances where setups apply, mainly screen printing and embroidery. For these two services your project will almost certainly be subject to some setup costs due to the labor intensive process to set them up correctly. It’s important to note that not all setups are created equal, the more time you spend on the setup the better end result you’ll achieve.
Screen Printing Setups For Custom Print Projects.
If you’ve heard the term “setups” in the past it was probably in reference to screen printing. This is because screen printing setups are labor intensive no matter how you skin it. To give you an idea of what goes into a screen print setup let’s look at it chronologically.
- First there’s the art handling and separations. This includes receiving the art file, sizing and mastering it and determining/translating the color pantones. It helps us if you can submit your art file with the pantone colors form the coated book.
- The next stage is art separation, the term ‘separations’ refers to the process of splitting the art into spot color channels or halftones. This information will represent the positives used to make the screens stencils.
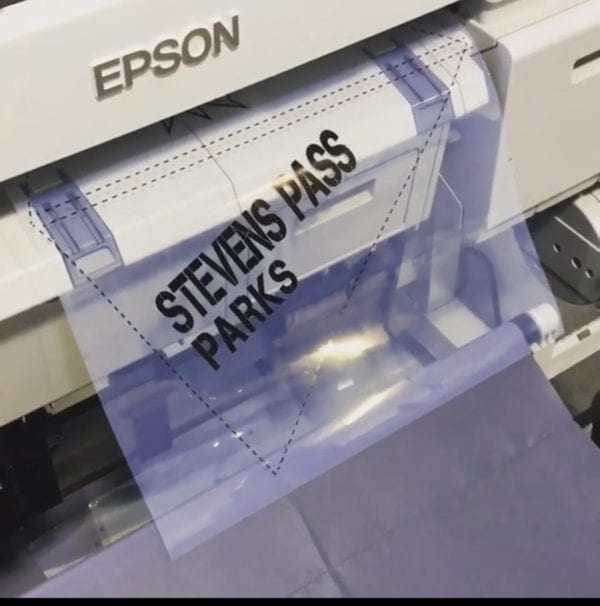
- From here we print what are called films. These are clear plastic sheets that are printed on a jet printer, we use them to expose a positive representation of the color channel into a mesh screen. This is how the stencel is made and it would take me a whole page to explain the finer details of this process but I’ll spare you. Here’s a good video from our friend Ryan explaining it. VIDEO LINK
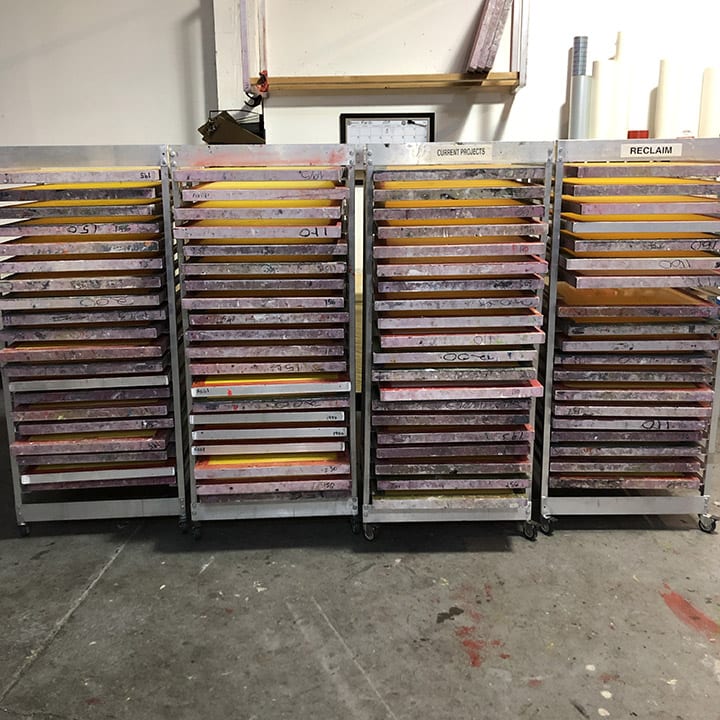
- Once the stencils are dried from the exposure and spray out process we tape them off to delete any information that we don’t want to print to the substrate. At this point the screens are ready for printing.
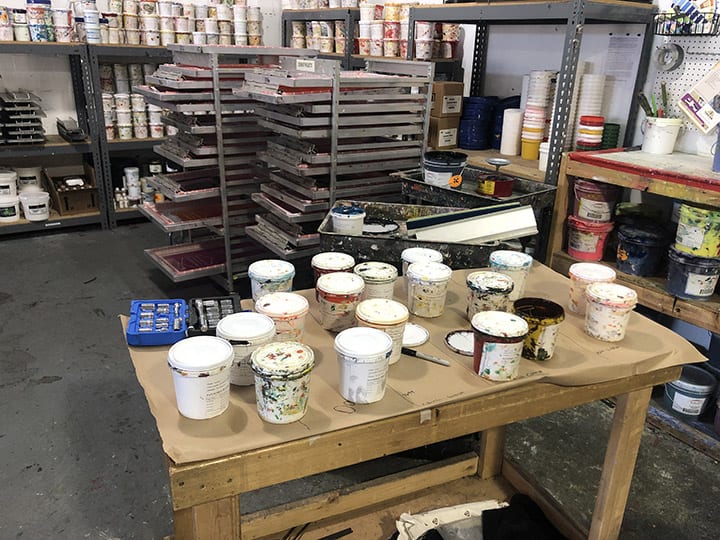
- We then mix the inks, we do this from a formula guide that allows us to match custom print color to their corresponding pantones. Maybe half the time we’ll have the color on hand but think there are currently over 1,000 pantone colors so we’re mixing new ones all the time. I’ll add here that not all shops mix custom colors. Most just have a set amount of color hanging around that they’ll try and get you to use as an alternative to your original art colorways.
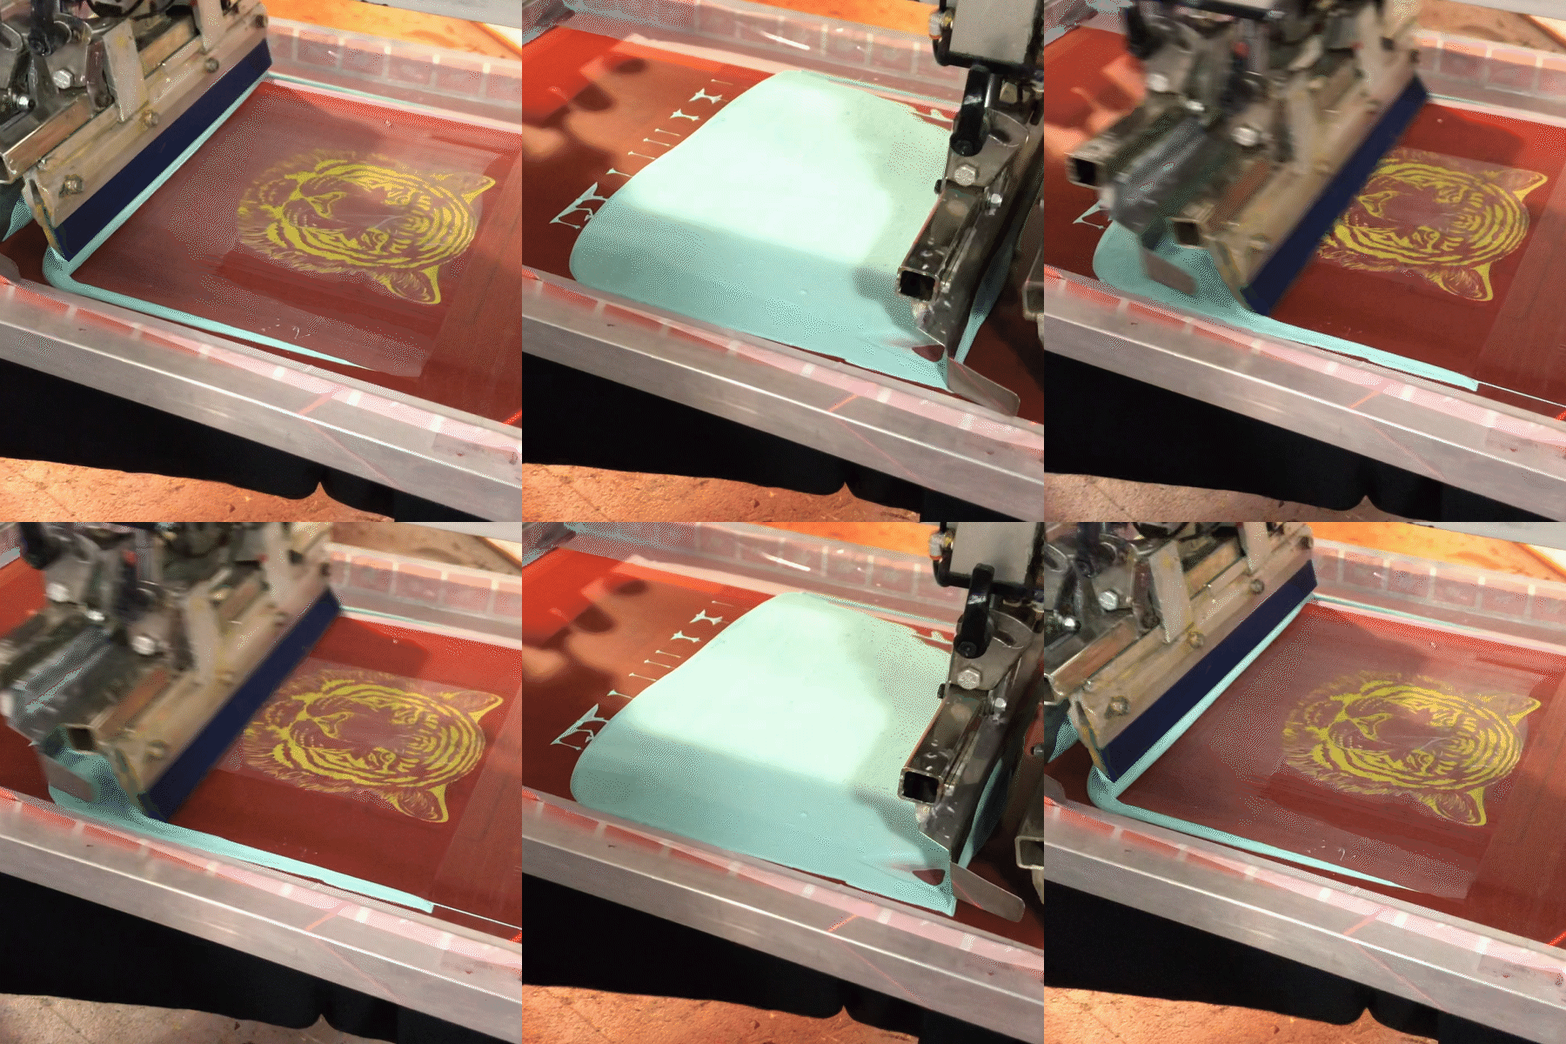
- Now that the inks are all mixed and the screen stencils are prepared we register the art back together on the screen printing press. It’s basically like putting a puzzle together. Each color needs to fit into it’s registration perfectly to roughly a one thirtysecond of an inch.
- From here on it’s pretty simple, we run the project and maybe move the screens around a hair to tighten the registration up as we go.
As you can see there’s a lot that goes into screen printing setups. DTG printing would be an alternative but once you have a screen printing press setup it’s pretty realistic to be able to run 300 + units an hour. This is in contrast to maybe 30 units an hour with DTG. This is why we’ll use DTG on short runs where production efficiency isn’t as much of a factor. The advantage of DTG to you is that there’s little to no setup costs, although it is more expensive per print. So at some point it’s going to be cheaper to pay to have your project set up for screen printing and we’ve found that number to be right around 30 units.
The Finer Points of Embroidery Setups.
Similar to screen printing there’s a lot of art front end that goes into embroidery setup. Having a clean art file is pretty crucial here, I would say even more so than the printing processes. This is due to how the digitizing software reads the file when you convert it from vector to a stitch file. I’m not going to get super technical here but basically a when you have a lot of artifacts in your art paths the digitizing algorithm struggles to determine what direction to lay the stitches out in.
There are two major factors that play into whether or not you’ll have a successful embroidery project. The equipment used to sew the embroidery and the quality of the digitizing file.
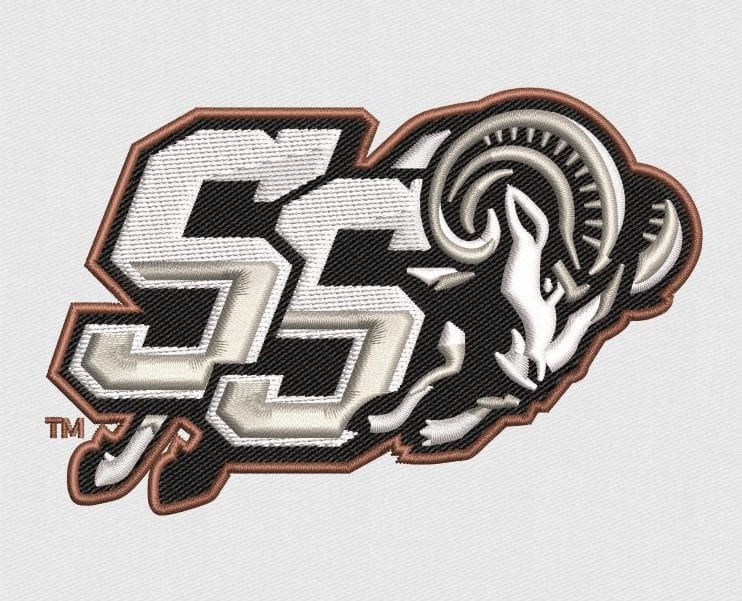
- Now that I’ve talked a lot about digitizing let’s talk about digitizing some more and what it is so all this actually makes sense. The two main parts of an embroidery machine are the sewing head and the arm. The sewing head works a lot like a conventional sewing machine and the arm moves the garment around while the head sews to make the deising. Digitizing is the programming that provides the route for the embroidery machine. Think of it like a map, you go to X axis here then you go to Y axis there, sew a satin stitch on this portion and a fill stitch through here.
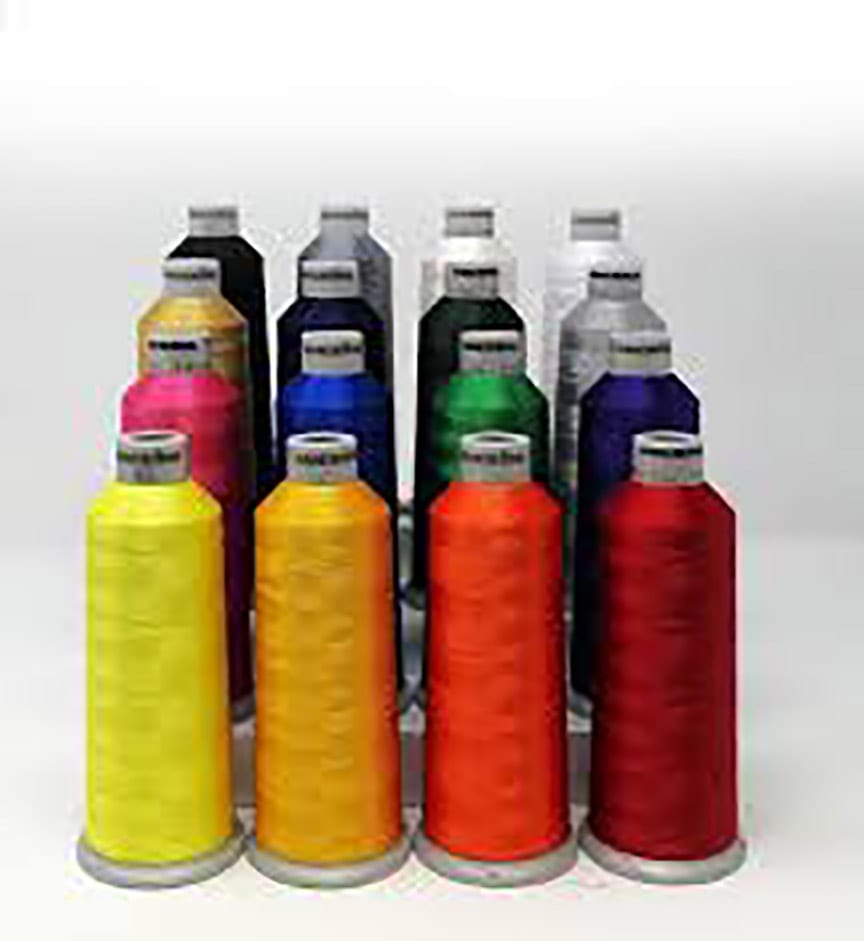
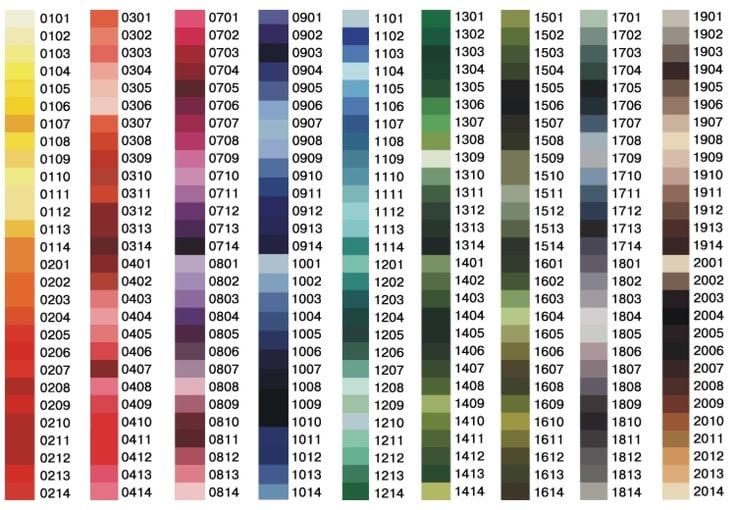
- Once the digitizing is all figured out we then have to try and determine the color thread to use. Unlike screen printing inks there are a finite amount of thread colors out there. We use Madeira Thread because we fill it is the best quality with the most amount of color and thread types available. You can view their color card here with the toggle below.
- Once we’ve completed the above we have to test it on a sample or like garment. We often order an extra blank to test with and if it goes well throw it in into your order for free.
- From there it’s pretty smooth sailing through production. Adjusting the thread tension here and there as we go.
There’s the cheap way to set something up for screen printing and embroidery and then there’s the right way to set something up.
You’ll see the national print conglomerates advertising “Printed shirts in one hour with no minimum and no setups”. Basically the fast food of custom apparel, full of filler and artificial flavor.. There are certain realities to this business just like anything else, every cut corner comes out of something somewhere. Whether it’s durability, accuracy, clairity or just plain accountability. We’ve always said that good customer service is telling the customer what they need to hear, not always what they want to hear. This means not over promising and blowing smoke just to get your hand into their pocket. Sustainability and durability are really one in the same, a custom apparel product that lasts twice as long is half the financial and environmental impact.
Thanks for reading, we look forward to working with you. Please fill free to reach out to us or request a quote below.
SCREENS USED IN SCREEN PRINTING
MIXING INKS AND PREPARING SCREENS
PRINTING INK THROUGH A STENCIL
Digitized Embroidery File
Printing Film Positives
Embroidery Thread Cones

Leave A Comment